
How to Put Wiring Backing on Frames
The Problem
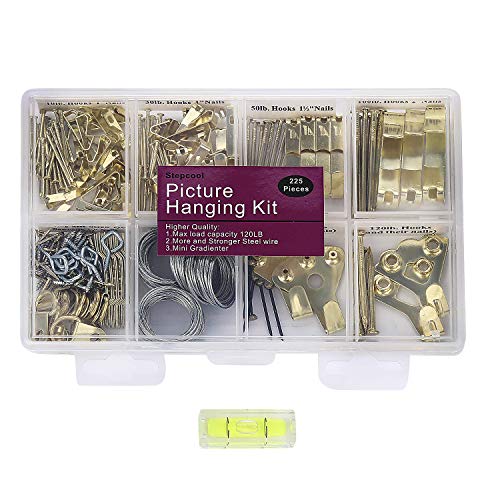
Store-bought frames often come with confusing hanging hardware. Recently, I watched my mother struggle as she hammered in two nails for a piece of art that only needed one, all because of the frame she bought. Many frames come with two disconnected D-rings or a single D-ring that's poorly positioned. Today, I'll show you how to properly attach hardware to your frames, so you can use fewer nails and elevate your framing game for good.


The Solution
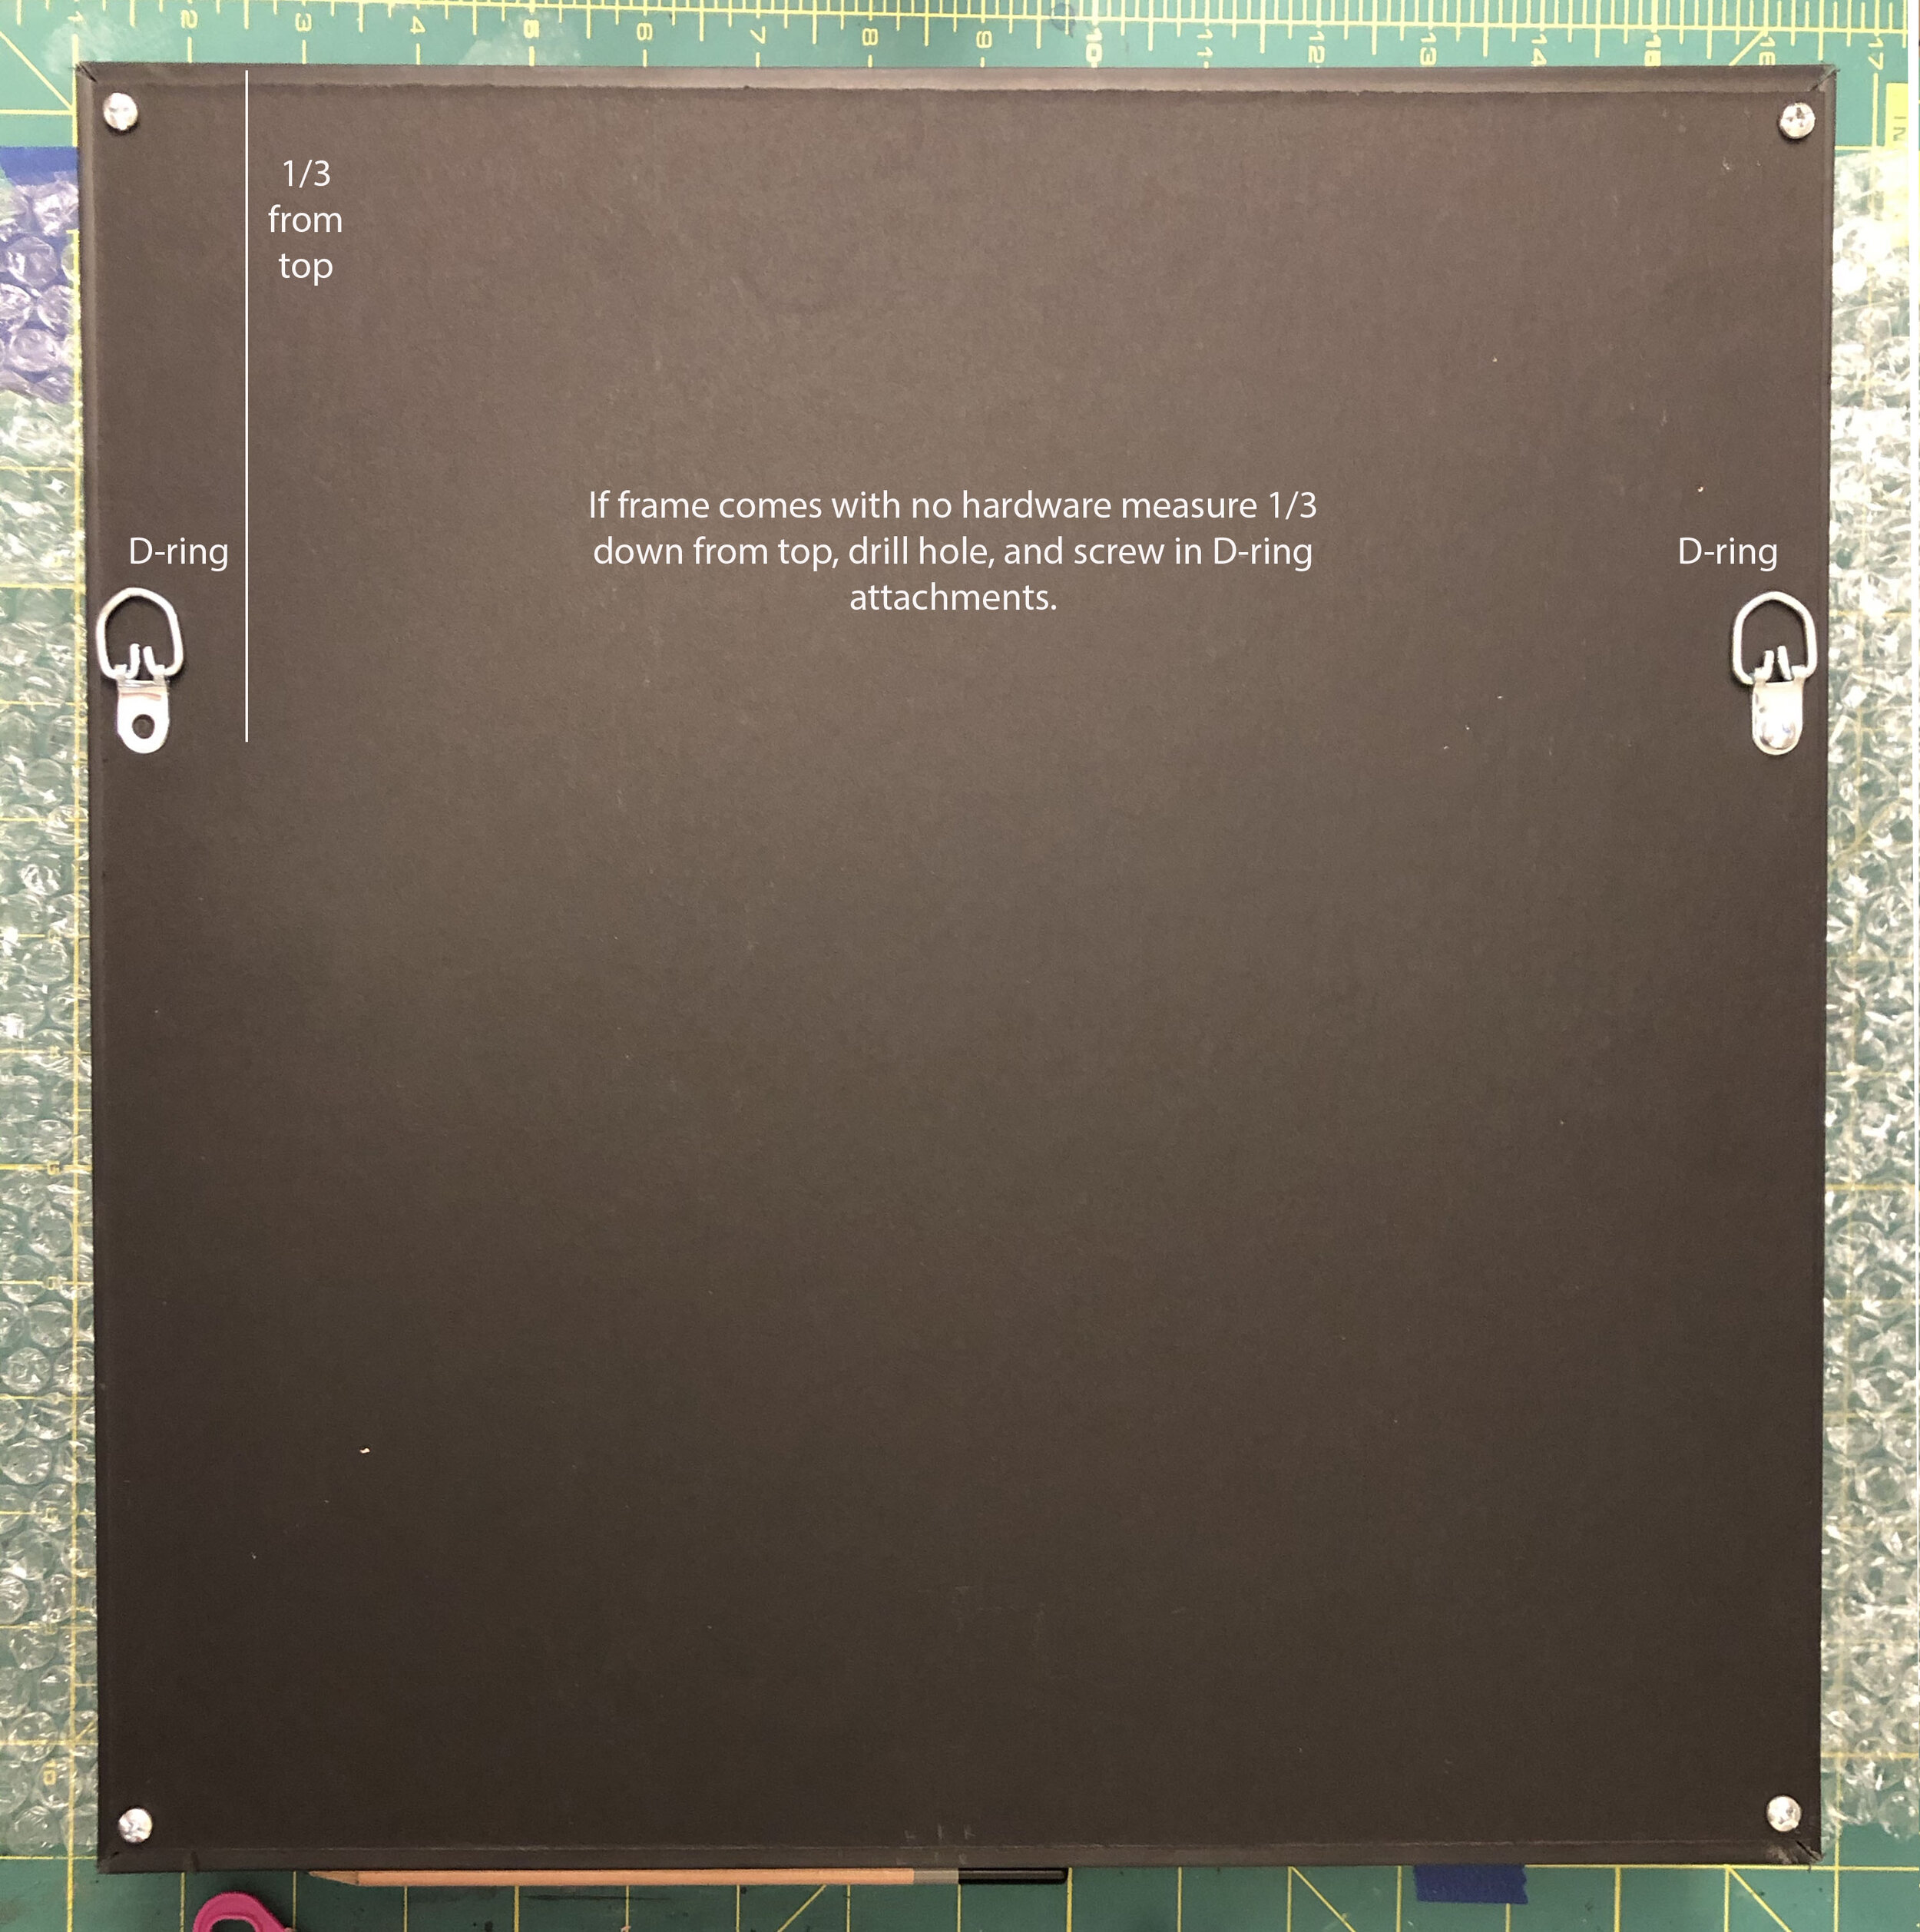
Frames with no hardware.
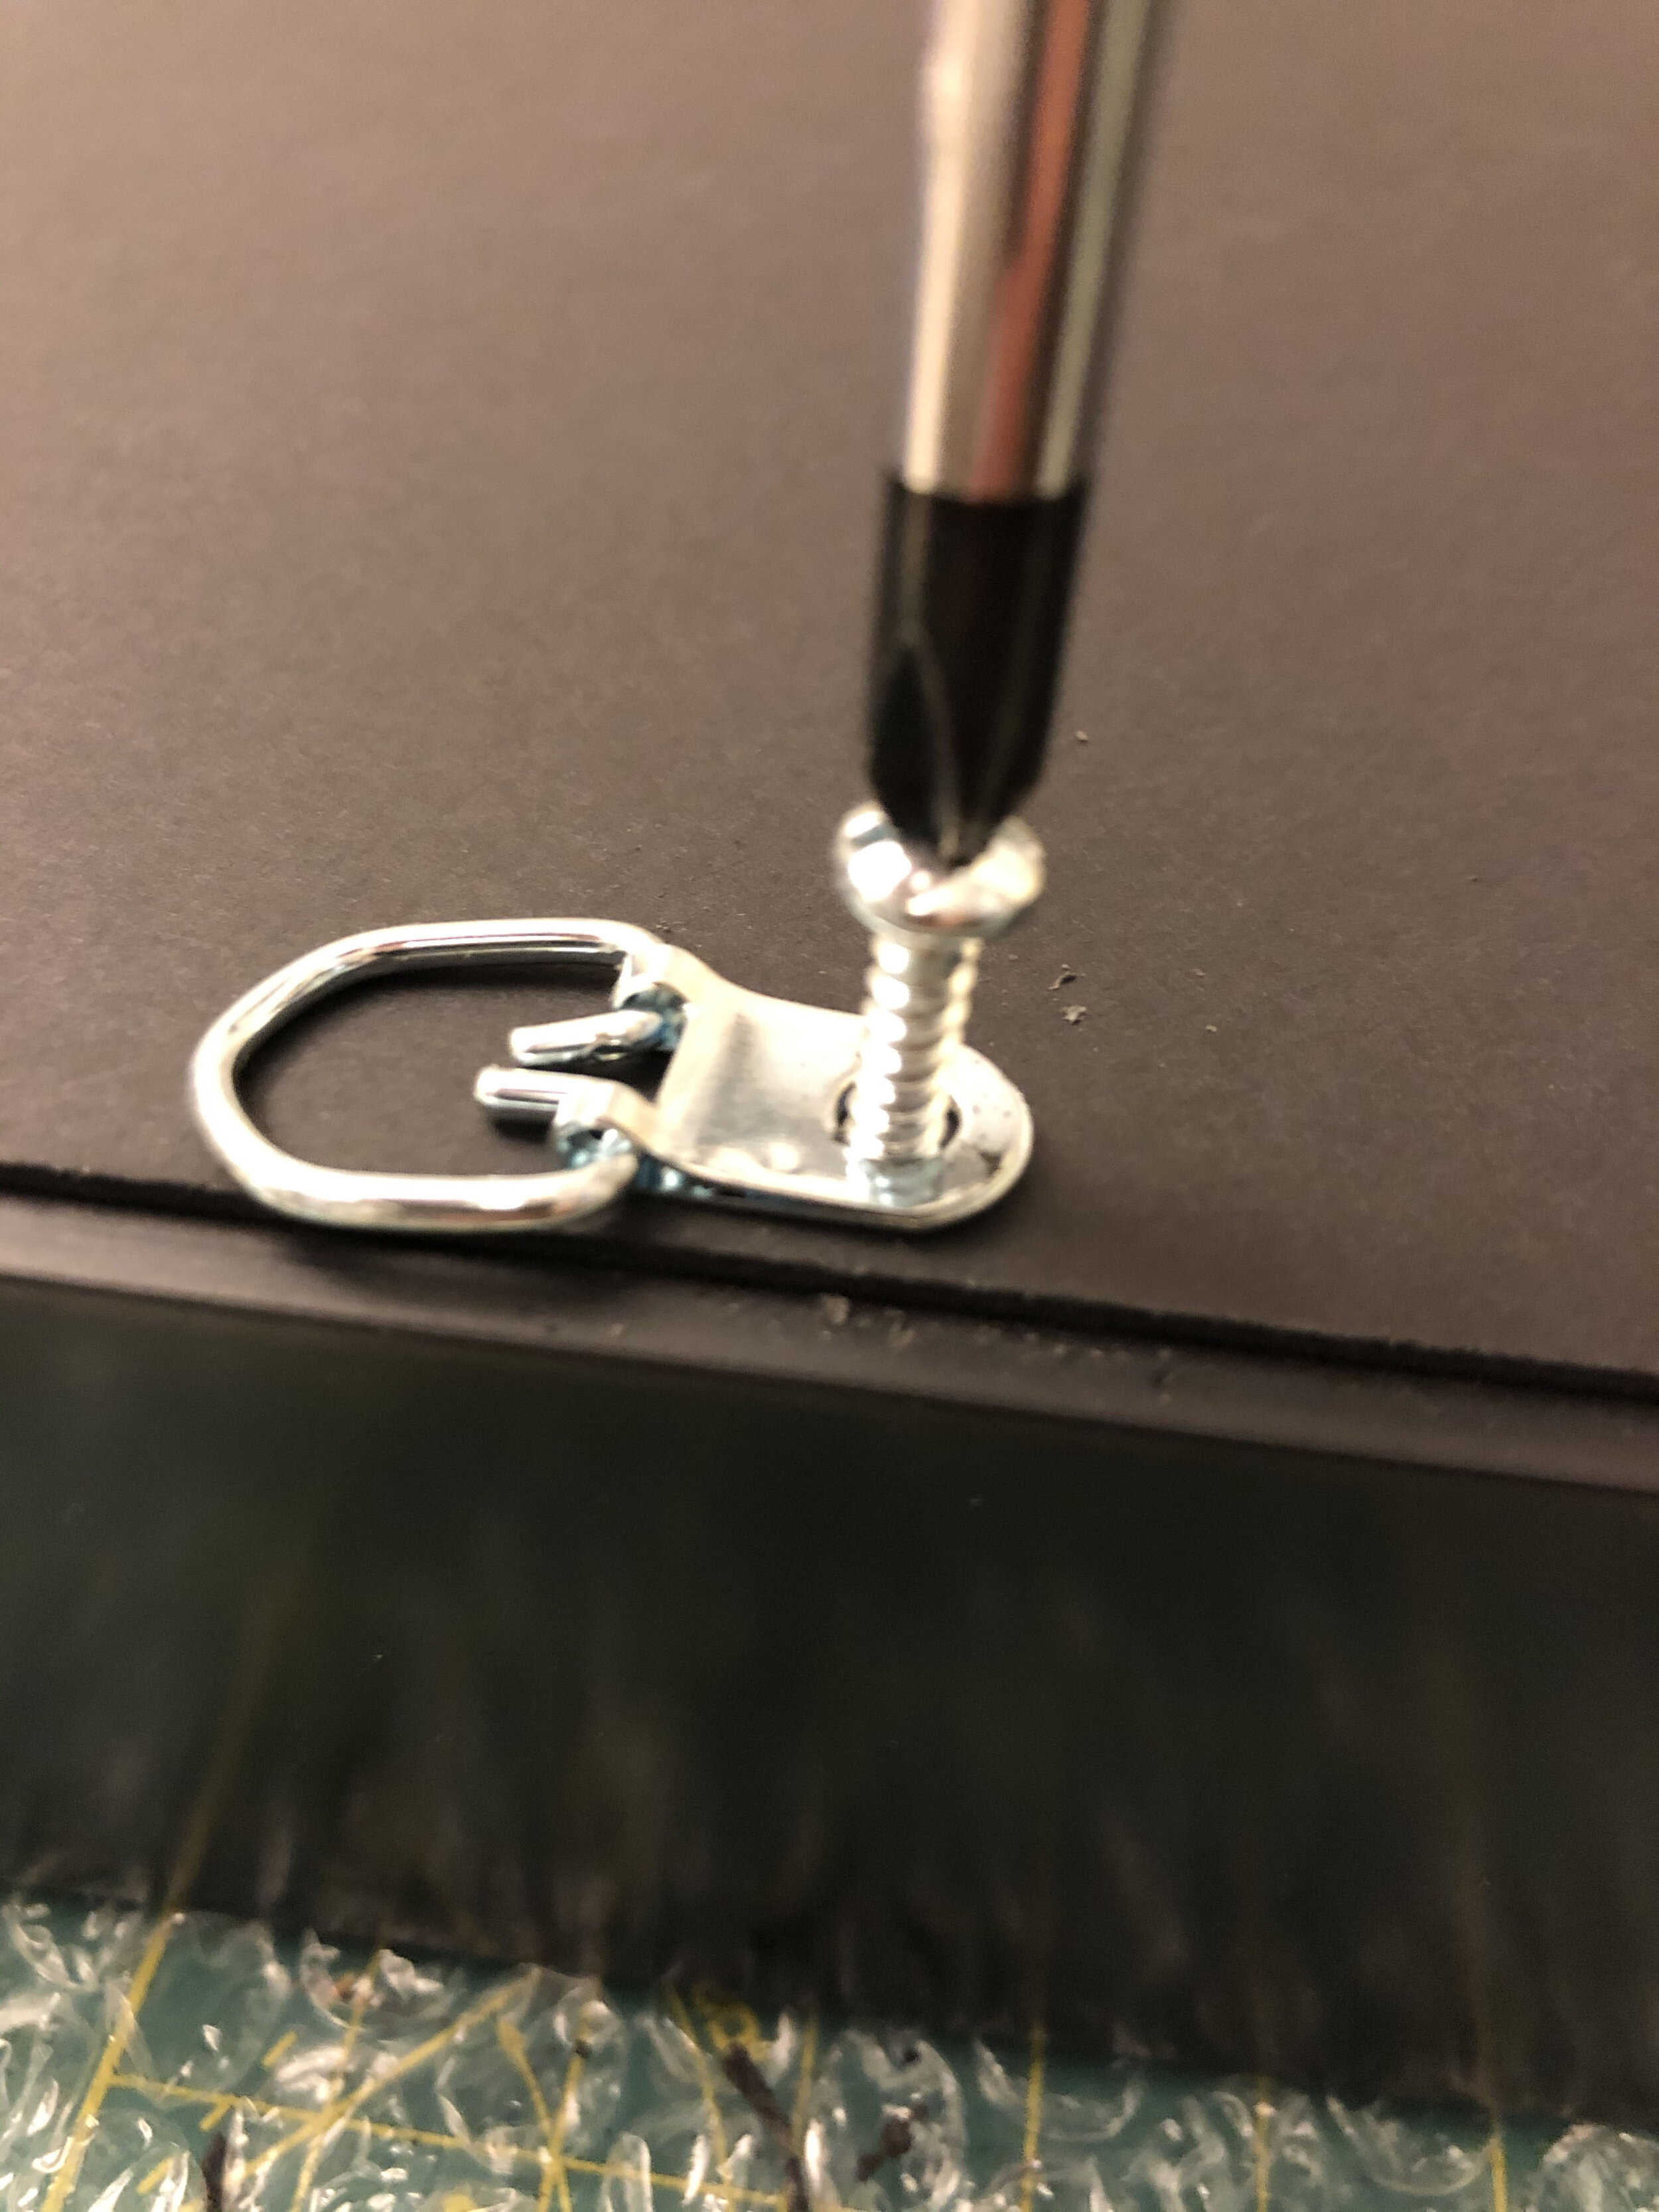
Frames that come with no hardware or incorrect hardware require a bit more effort. Start by measuring 1/3 down from the top of the frame and mark the spot for your D-ring hardware. Repeat this measurement on the other side. Use a drill to make small holes at the marked spots—it's helpful to keep the hardware in place while drilling to ensure accuracy. After drilling, secure the hardware with a screwdriver. Once the hardware is firmly in place, you can attach the framing wire to complete the setup.
The Solution
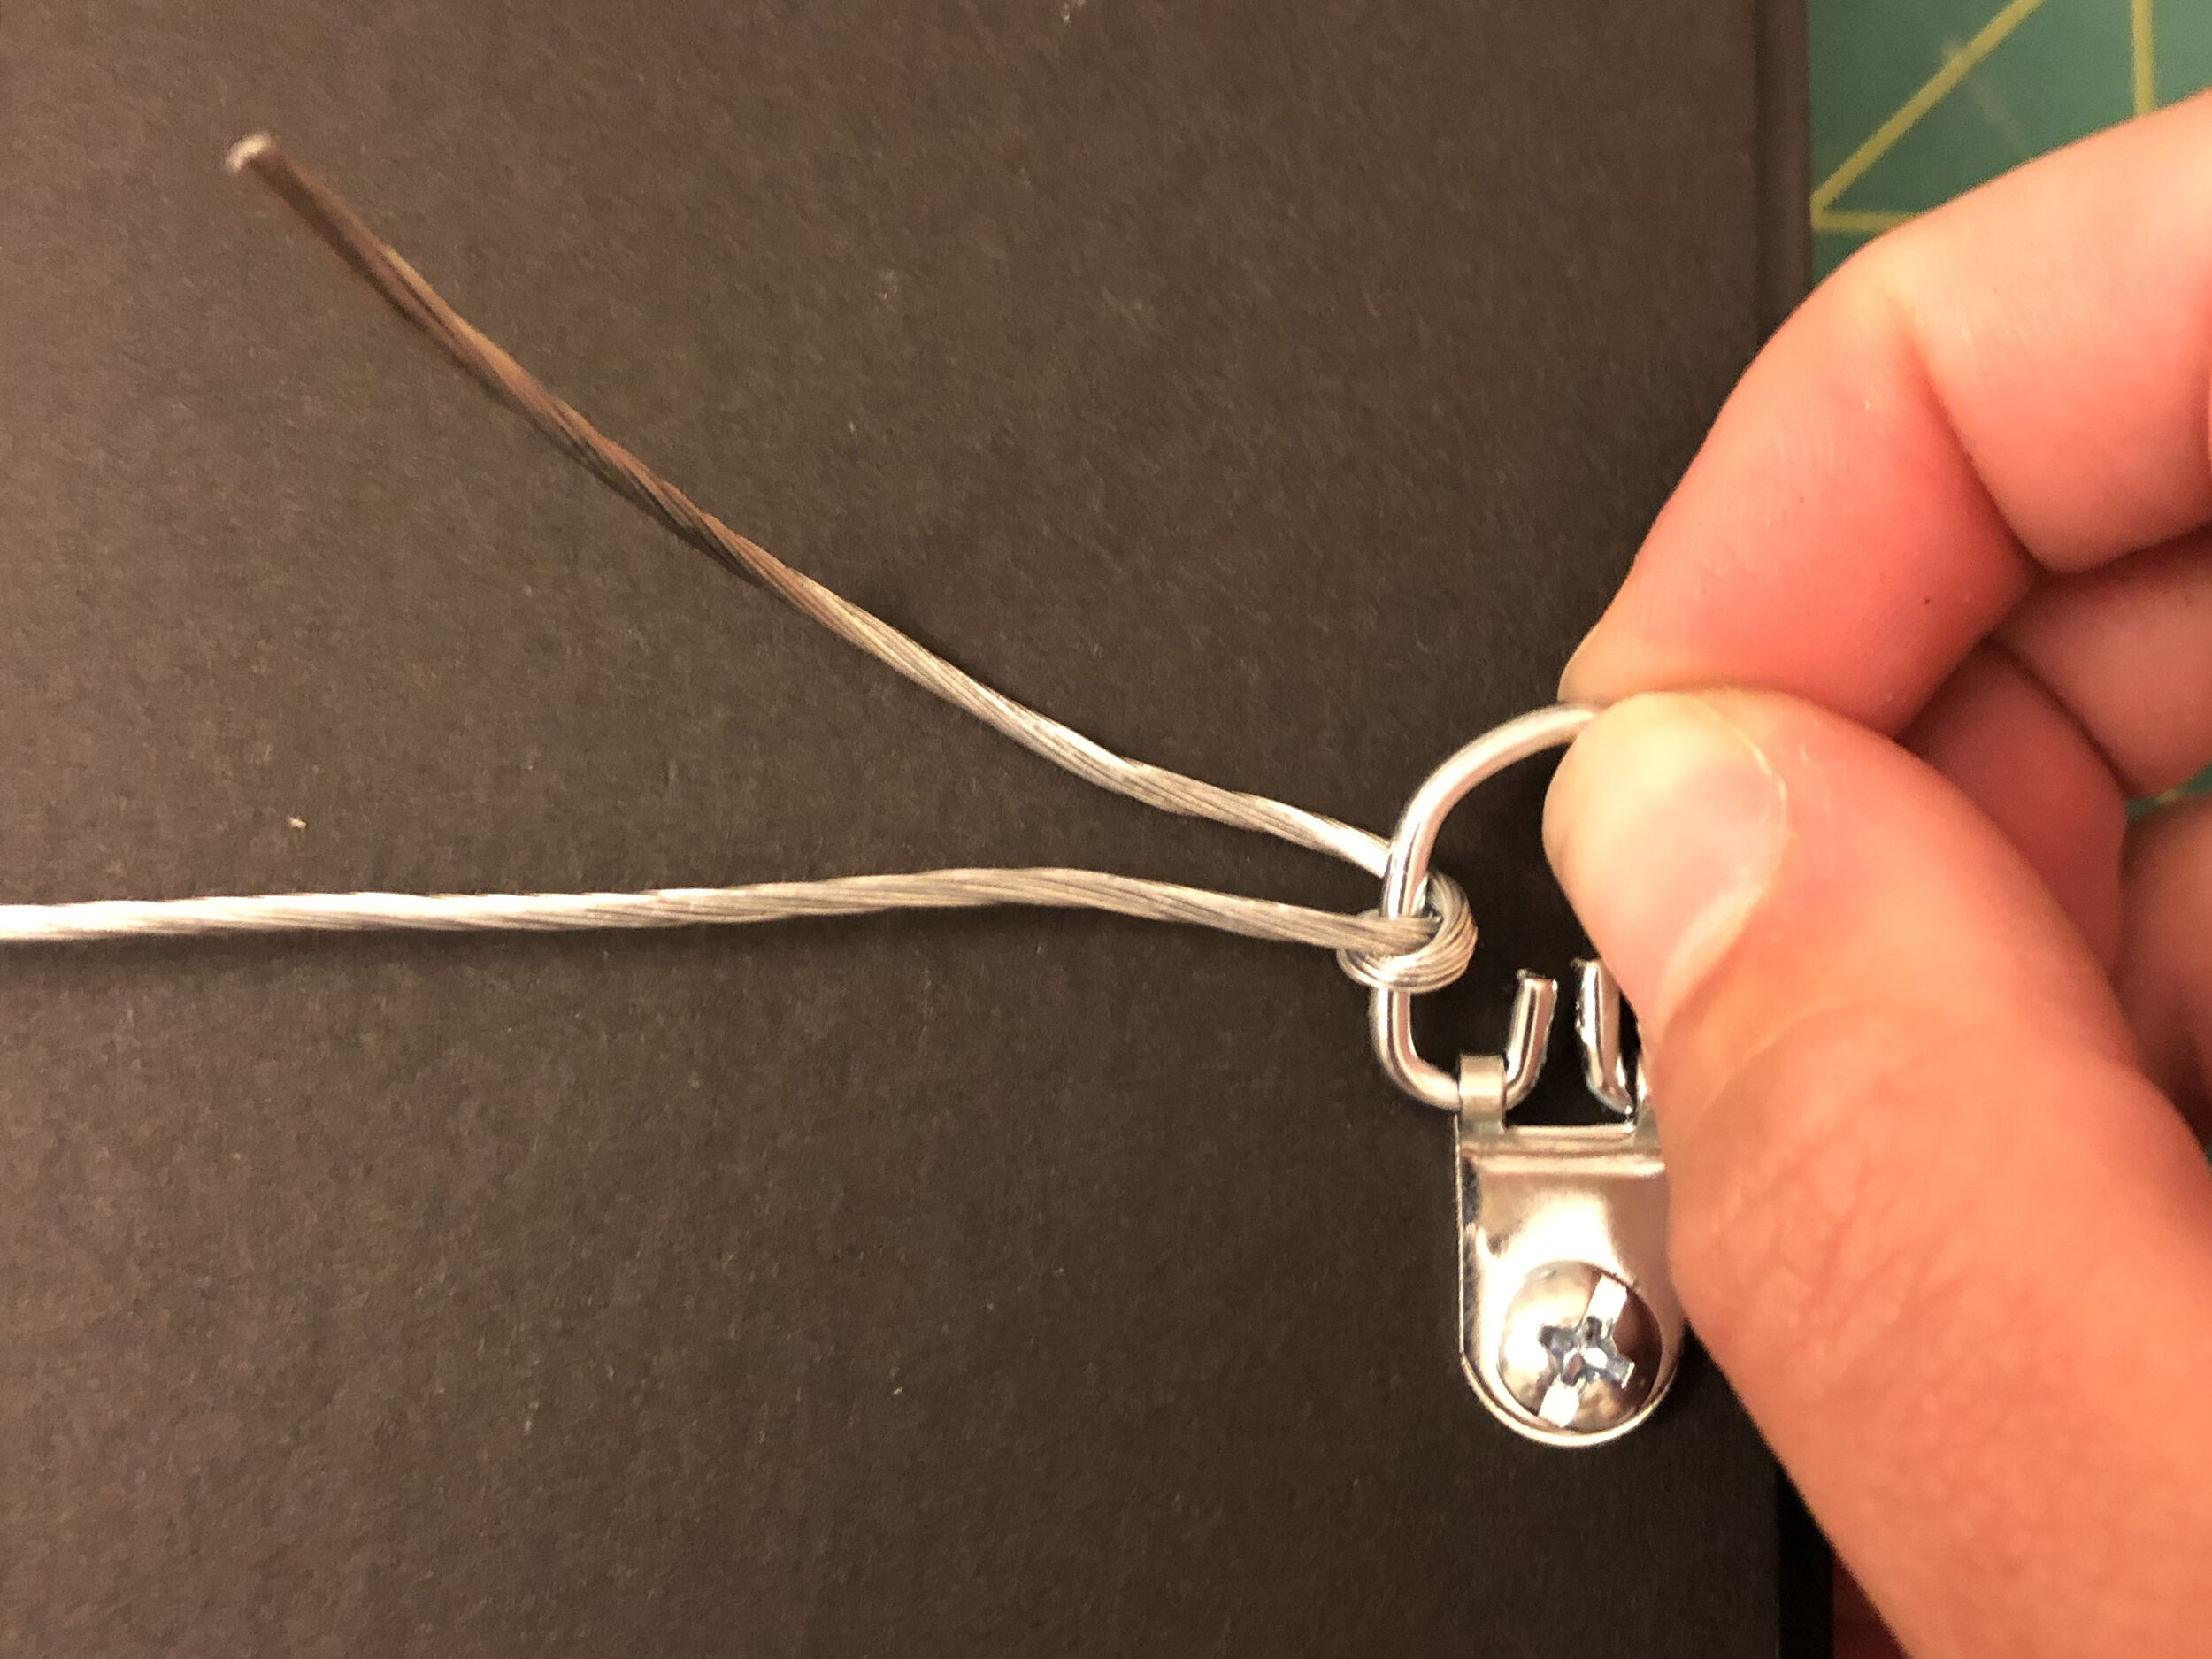
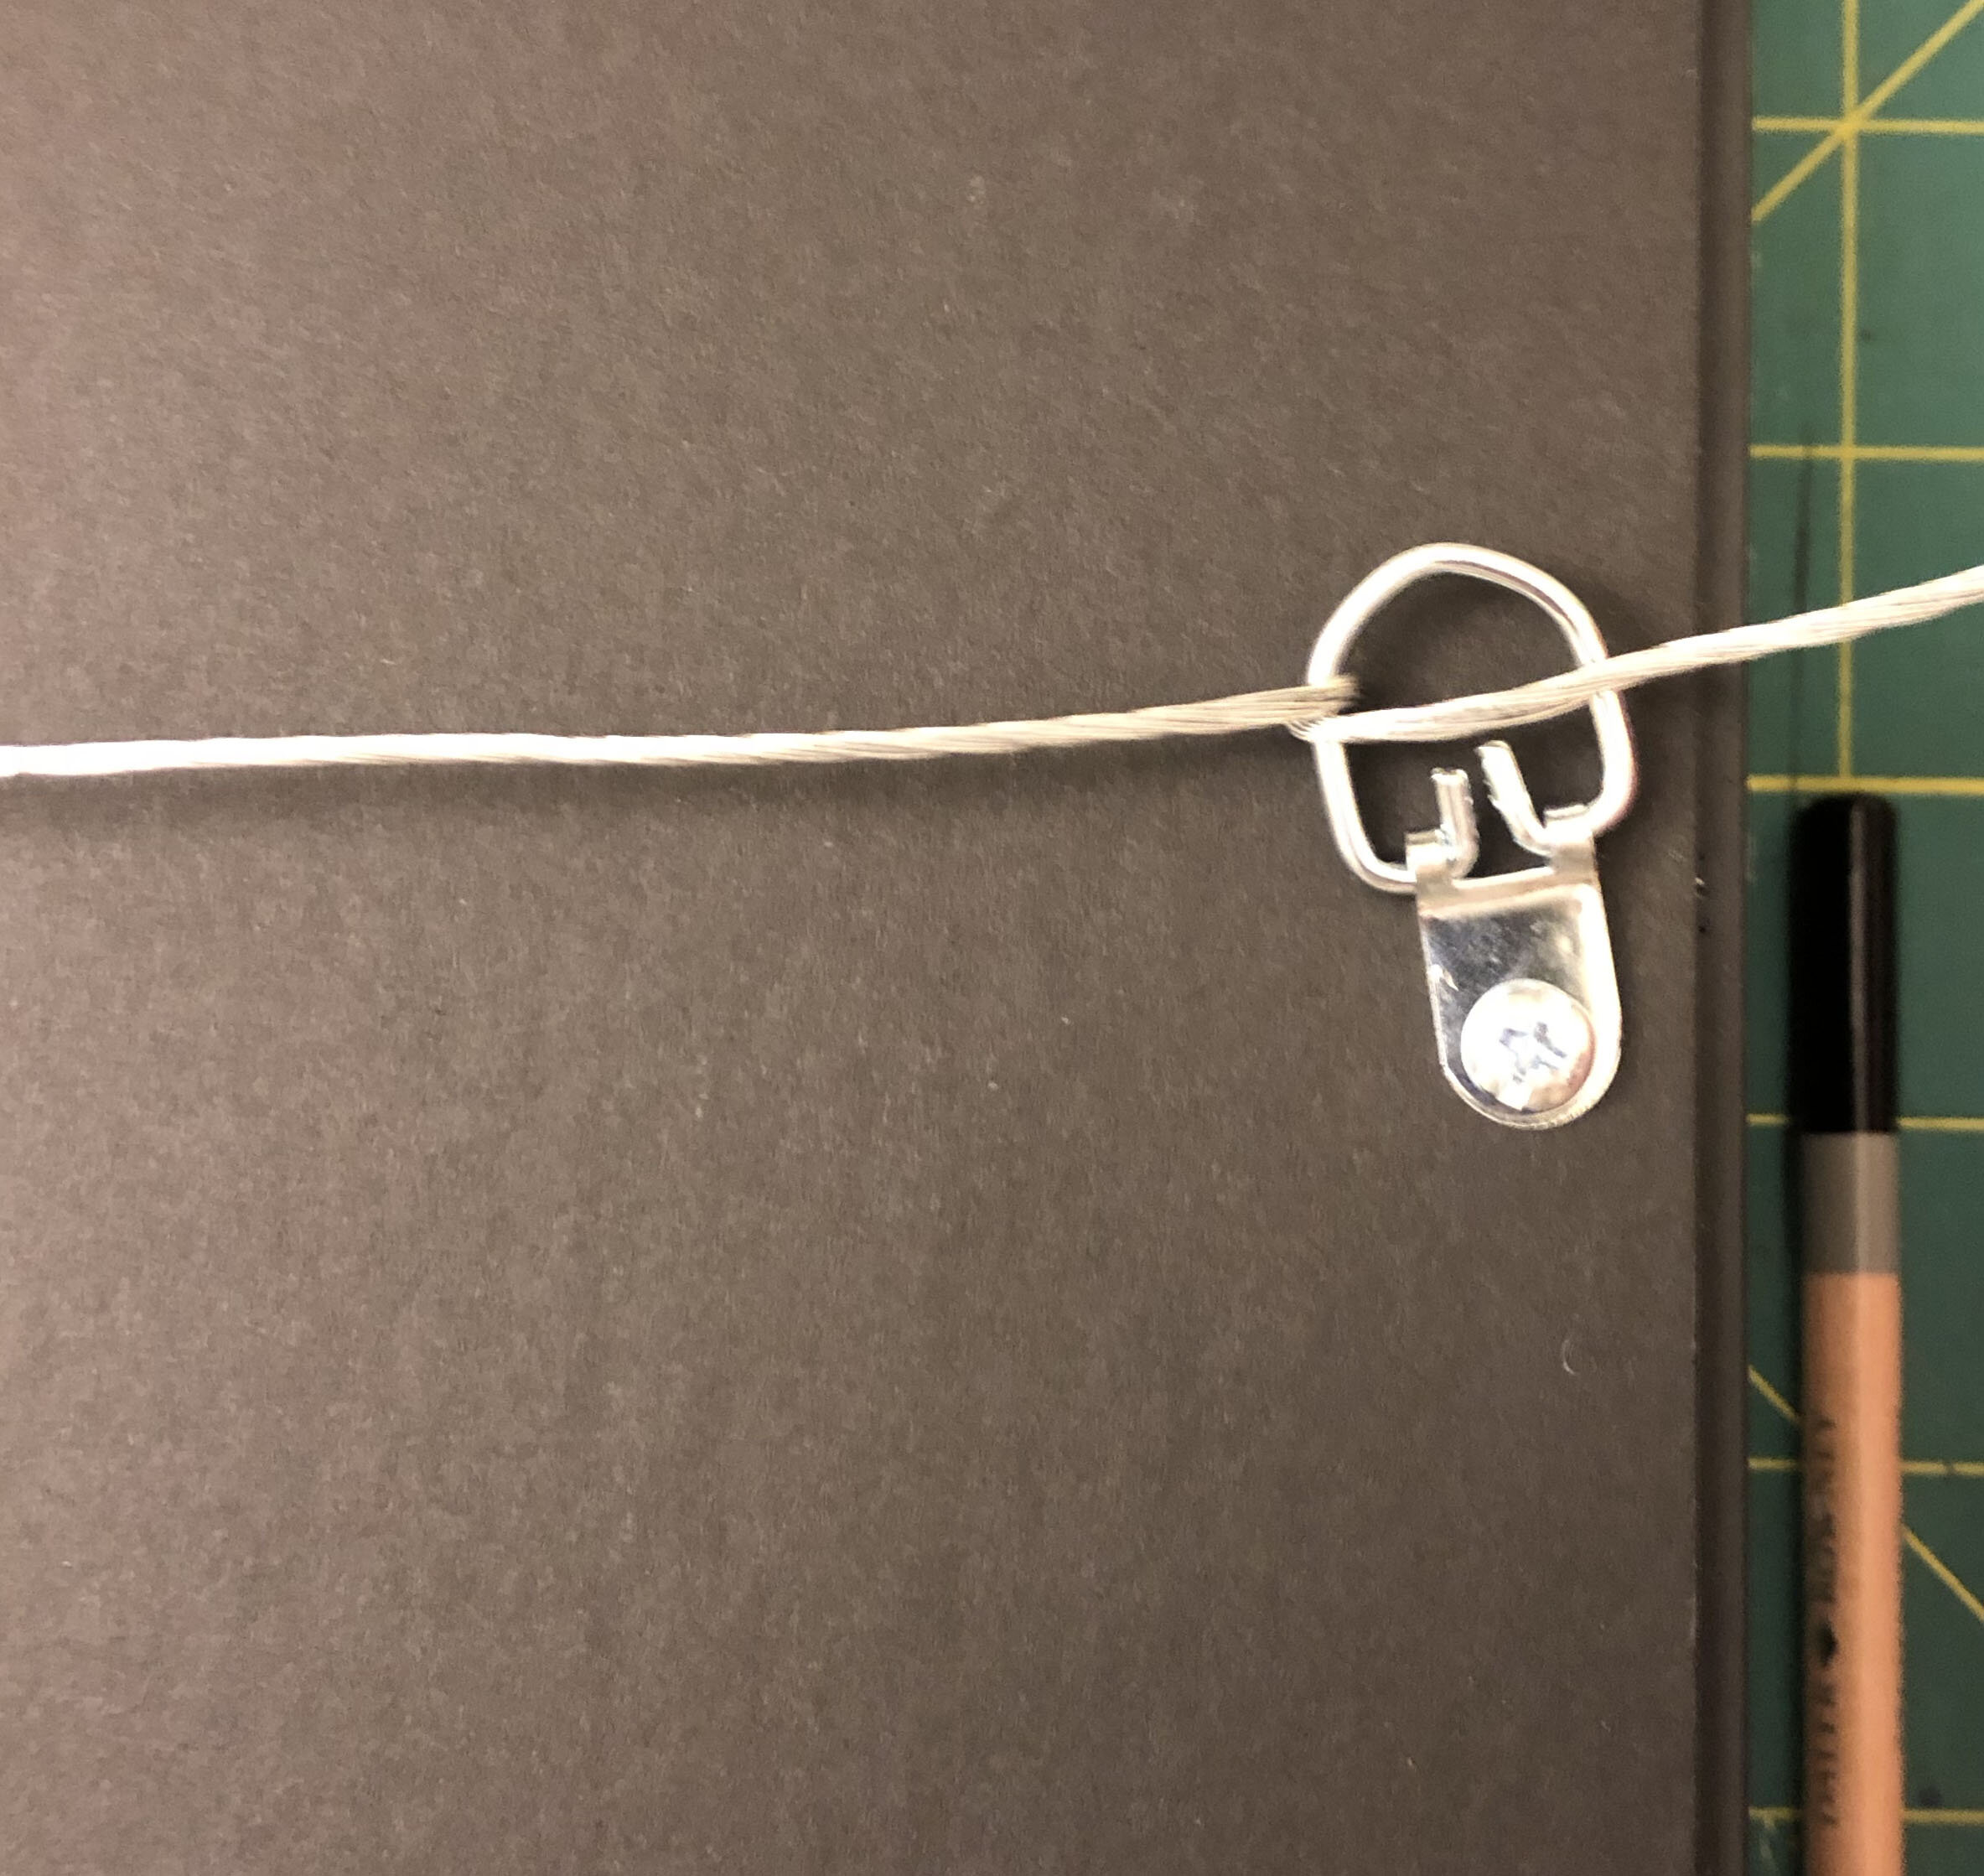
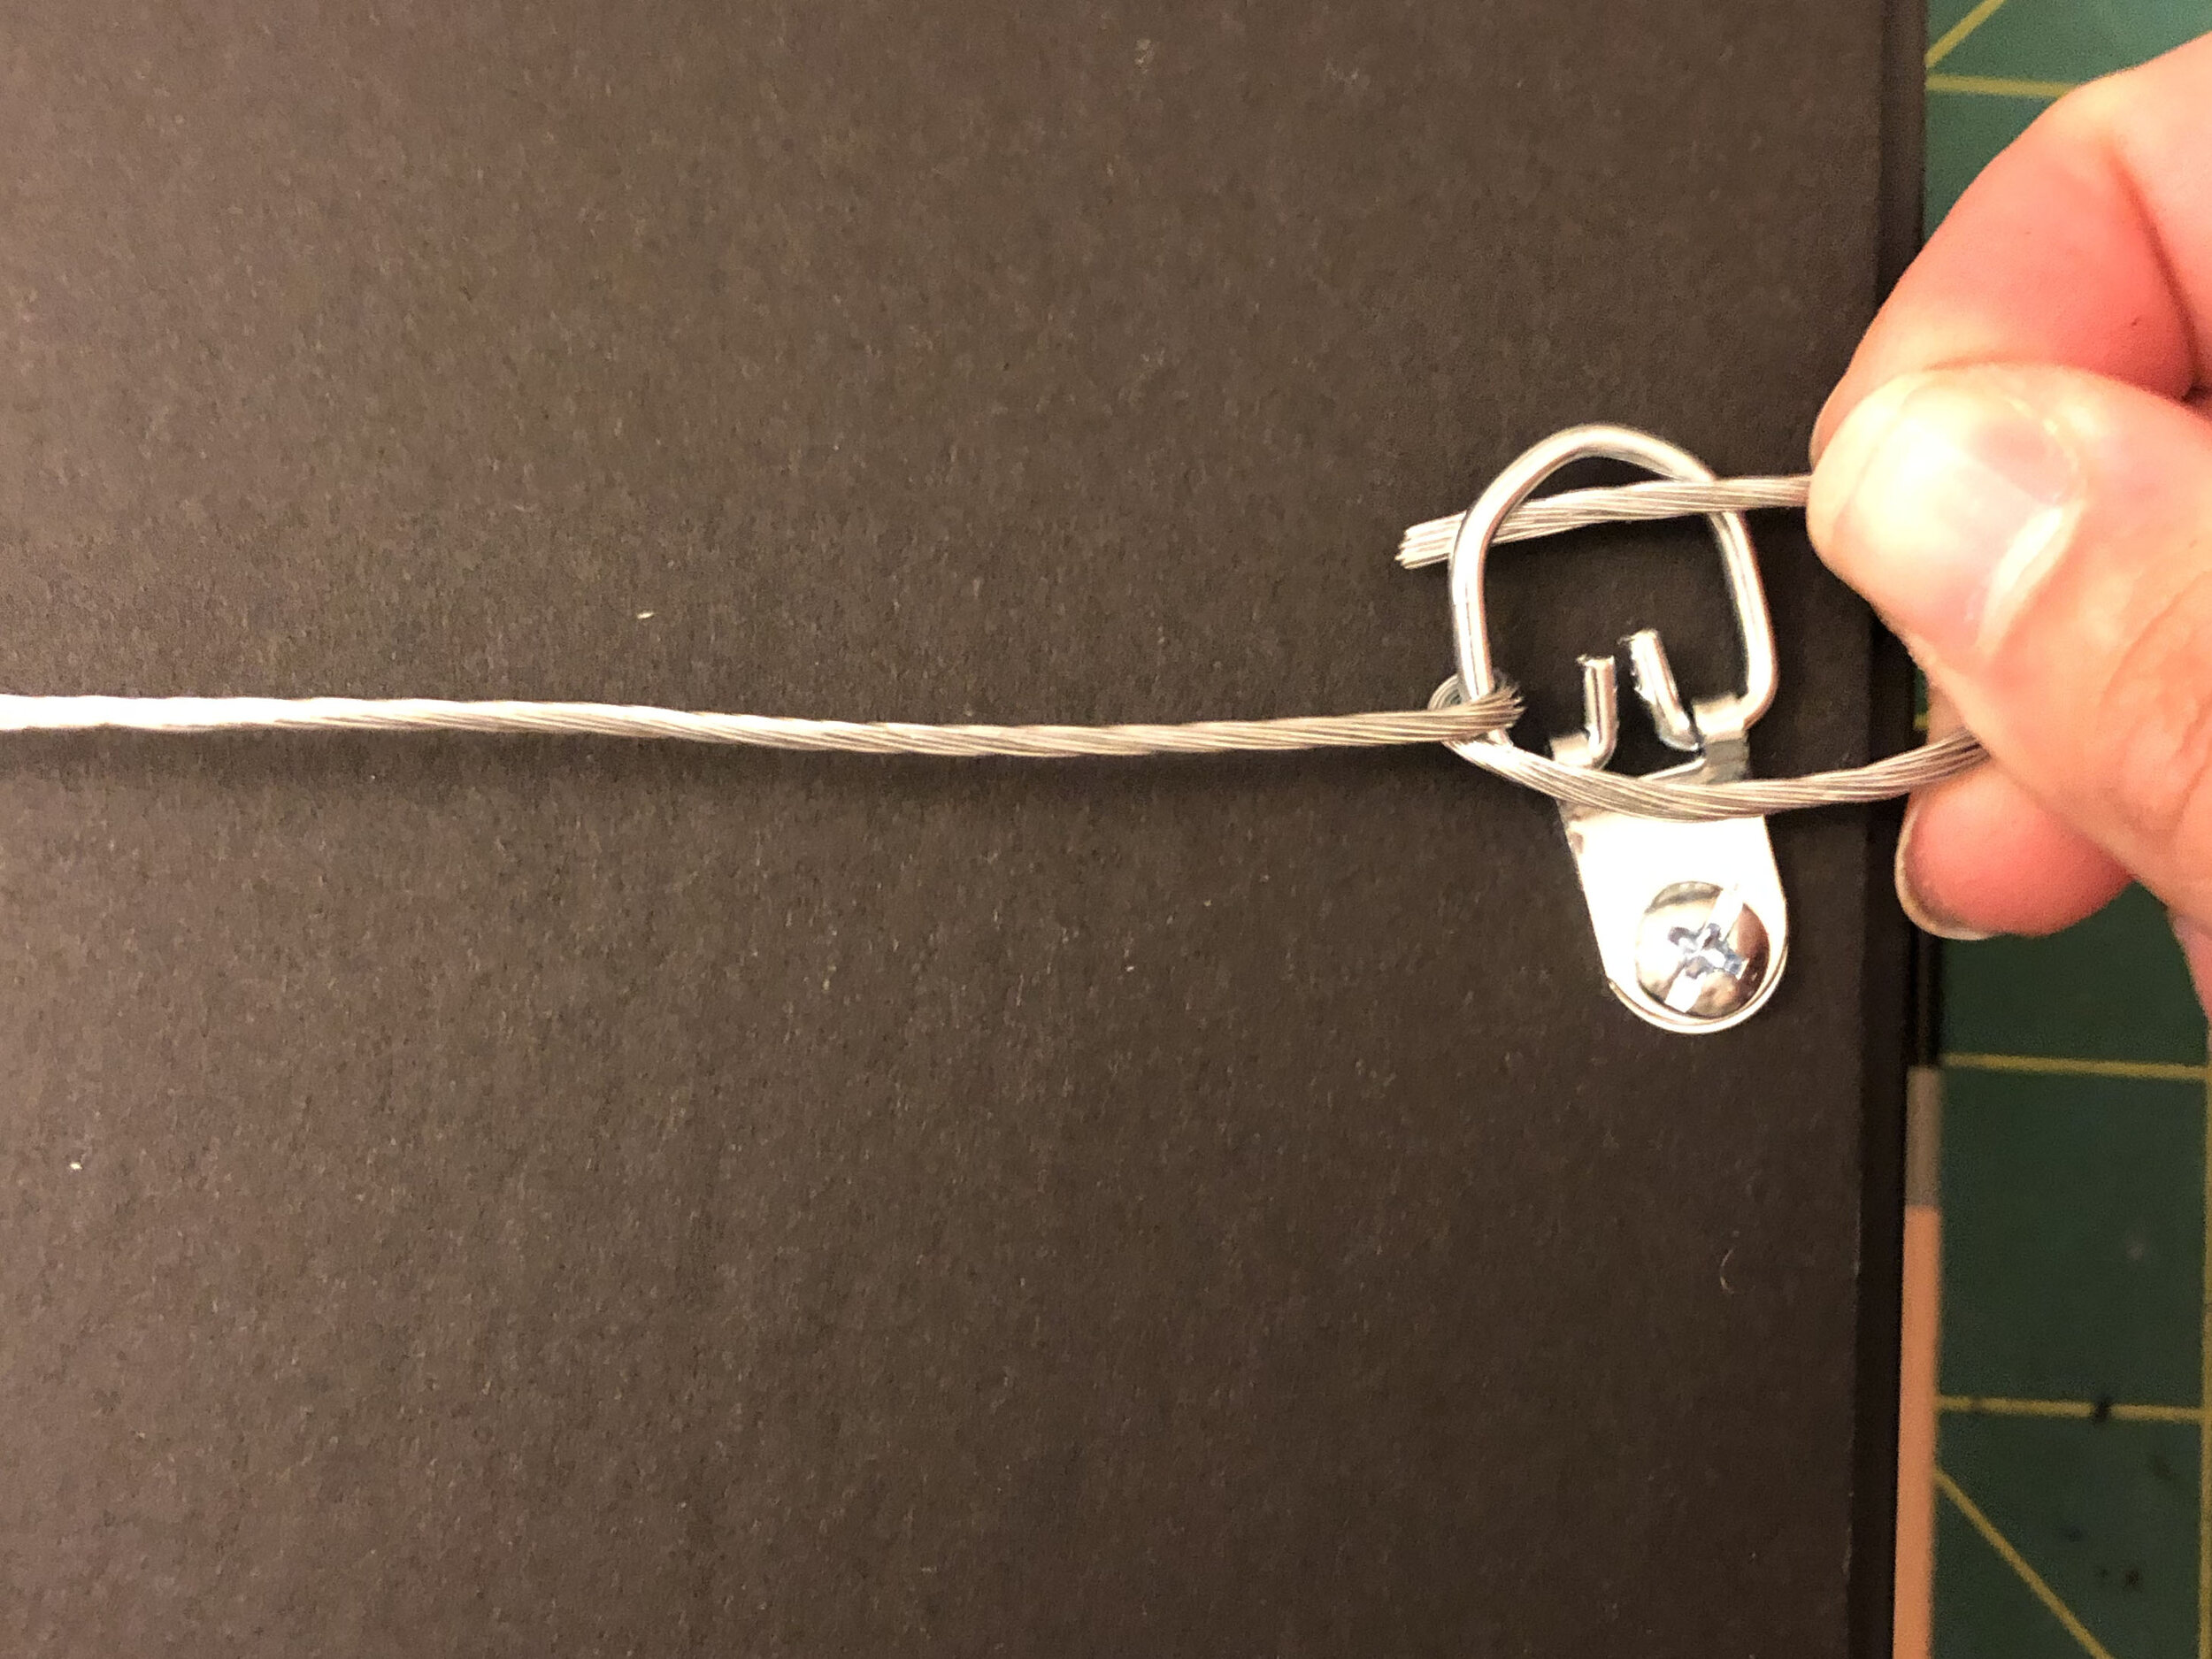
Frames with hardware.
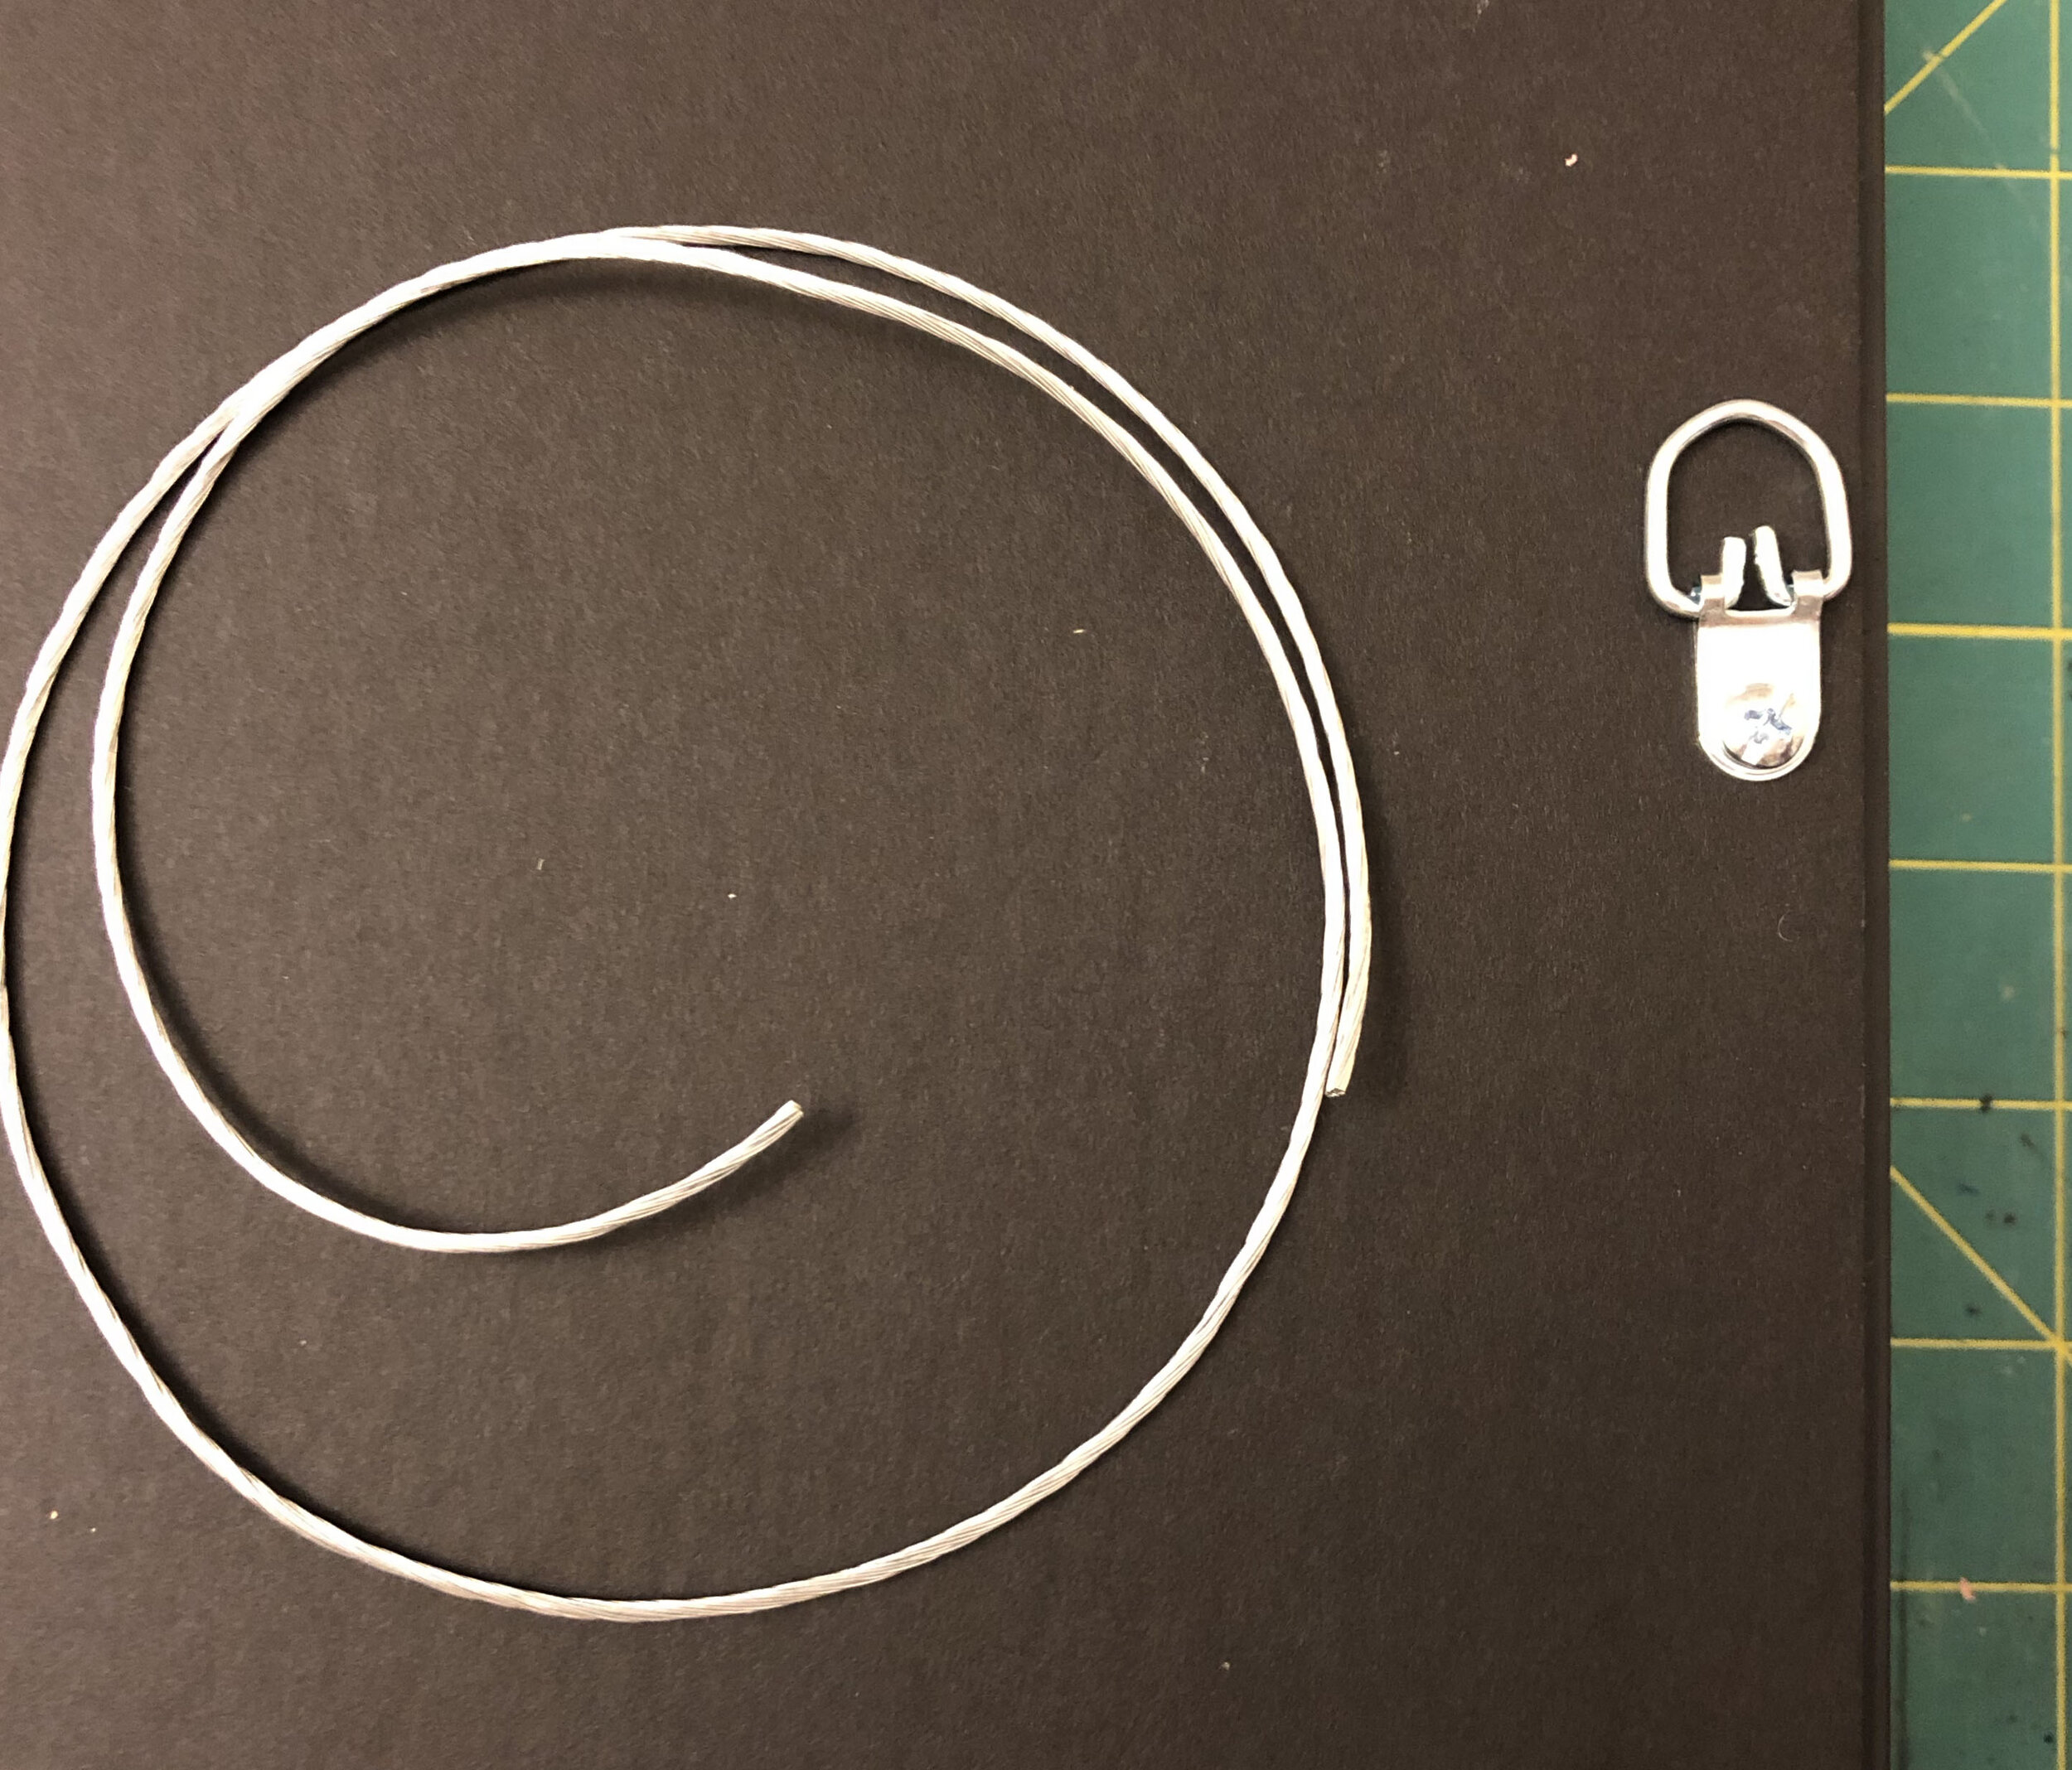
For frames that already have hardware, you can move straight to wiring. Begin by cutting a generous length of framing wire—the more wire you use, the better. Thread the wire through the D-ring and create a secure loop by tucking the wire underneath and over the ring. Pull the wire tight and wrap it securely. Repeat the process on the other side for a stable setup.
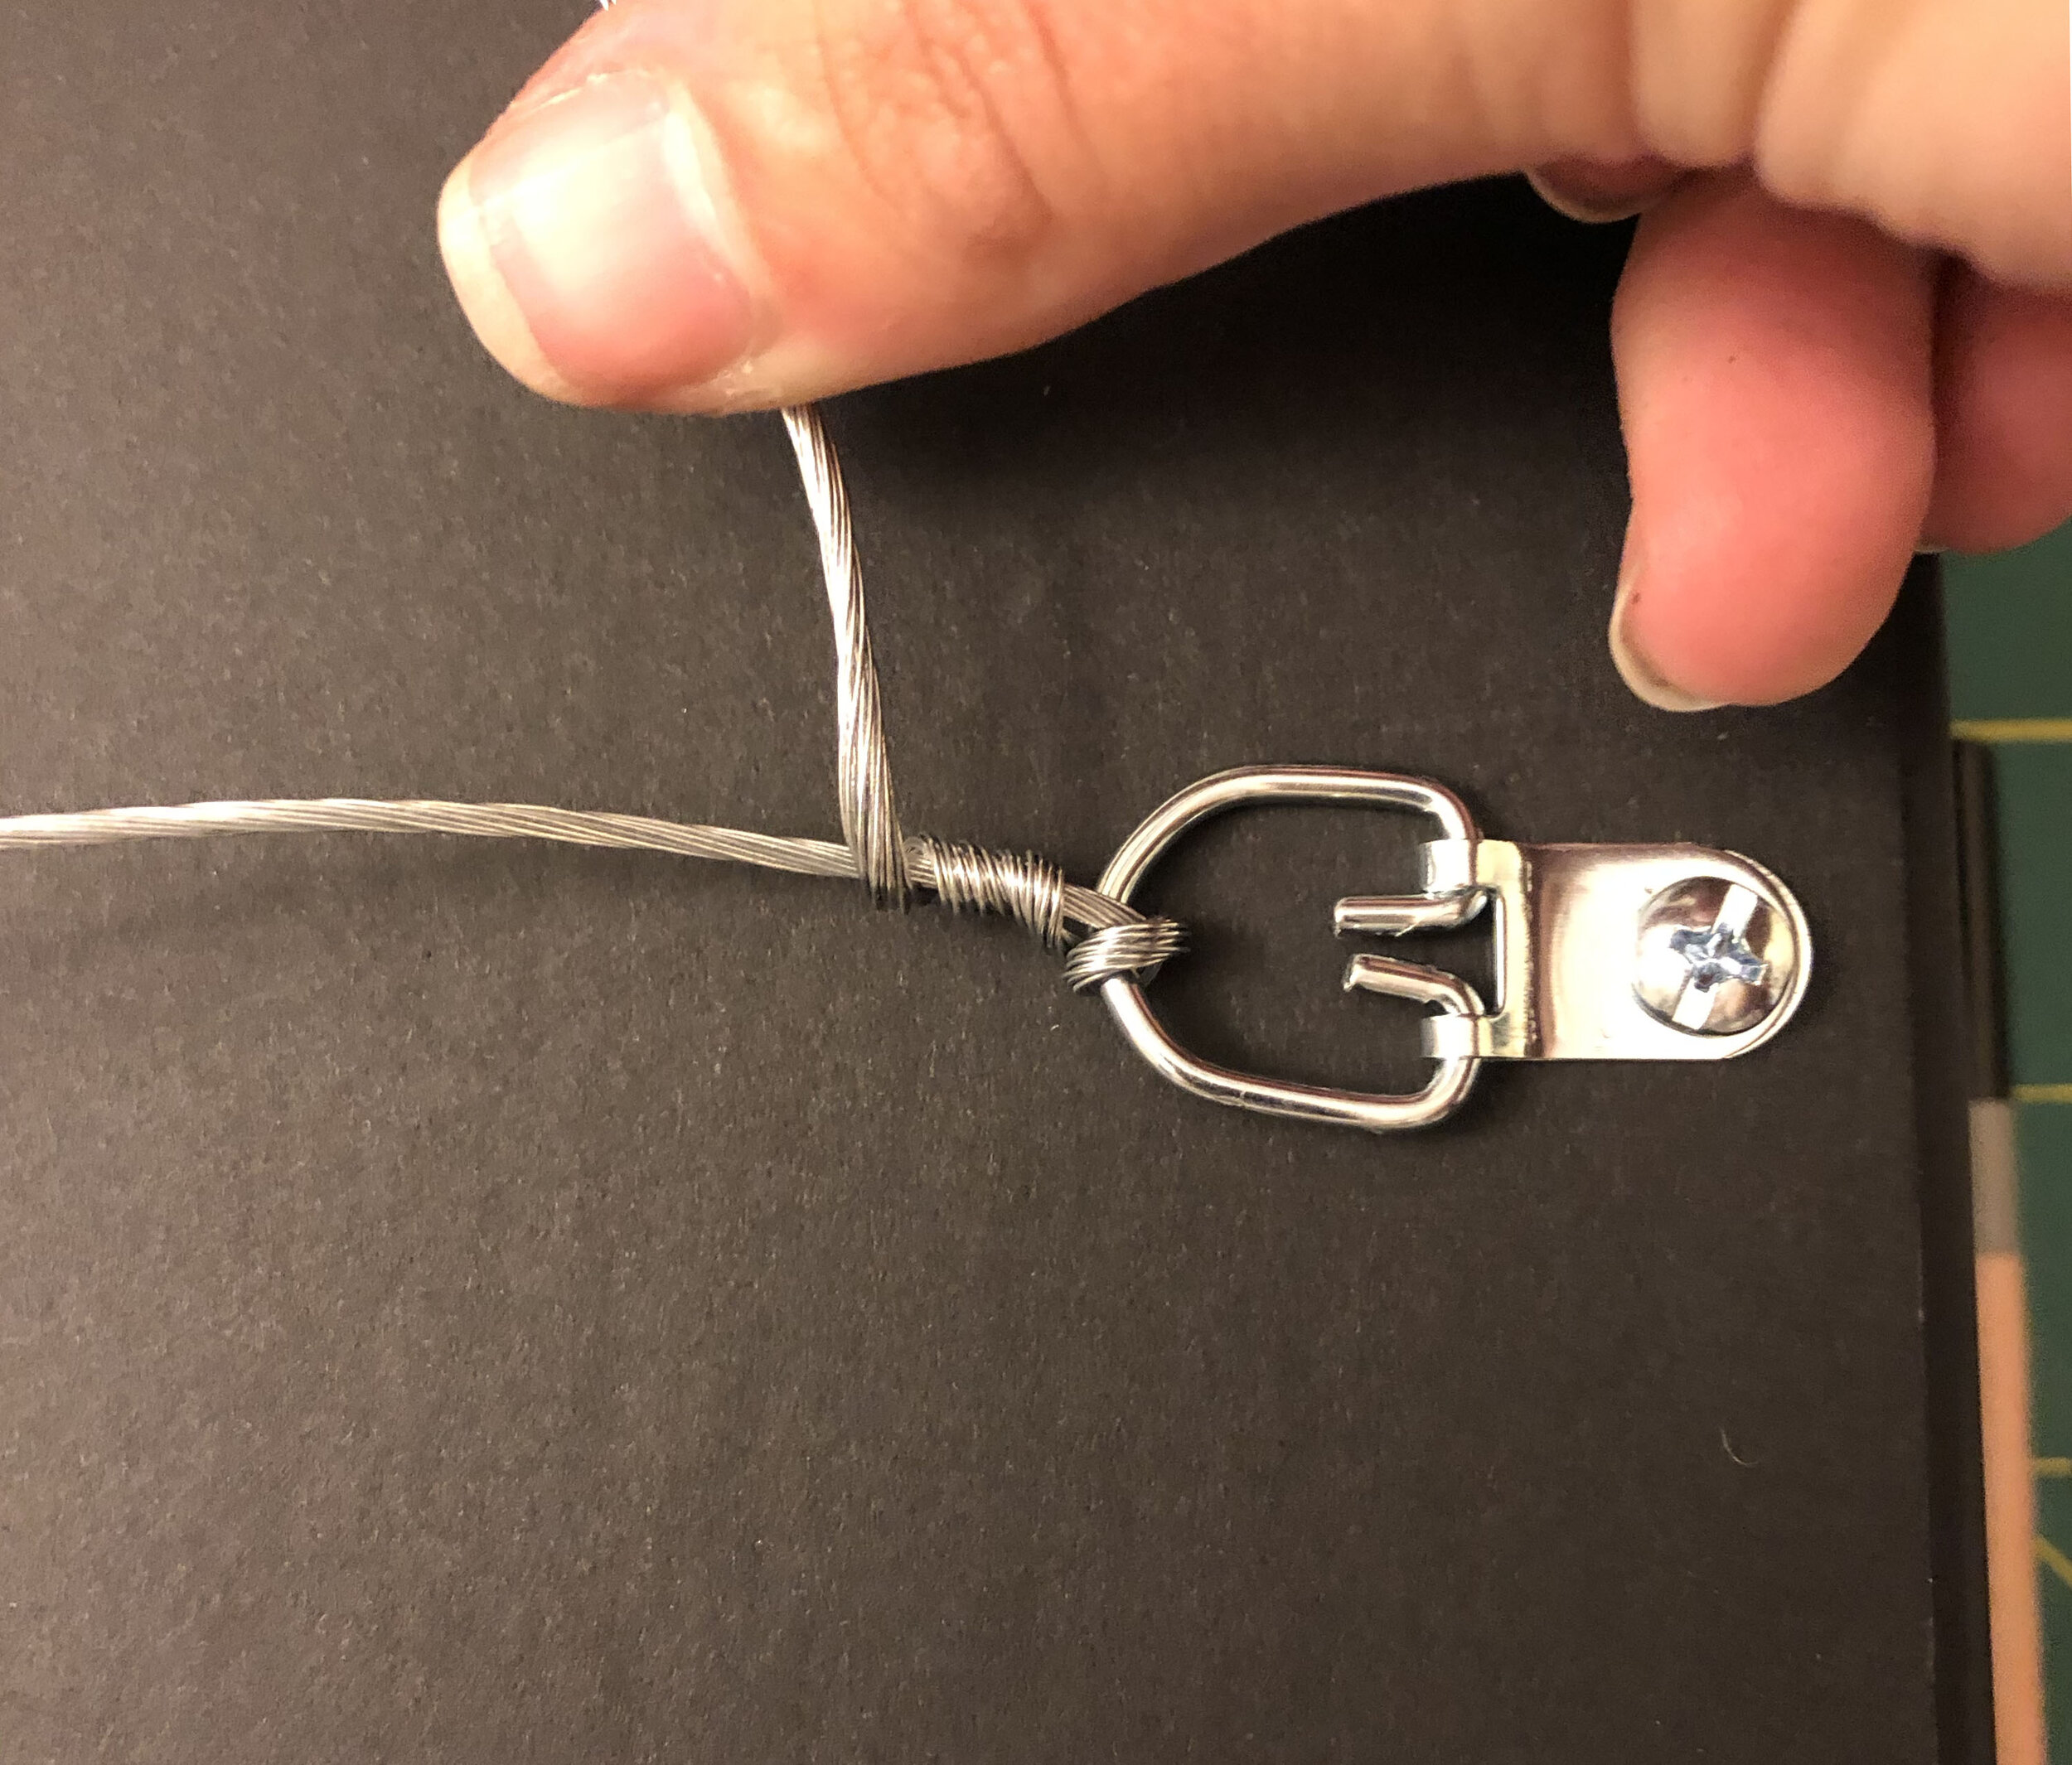
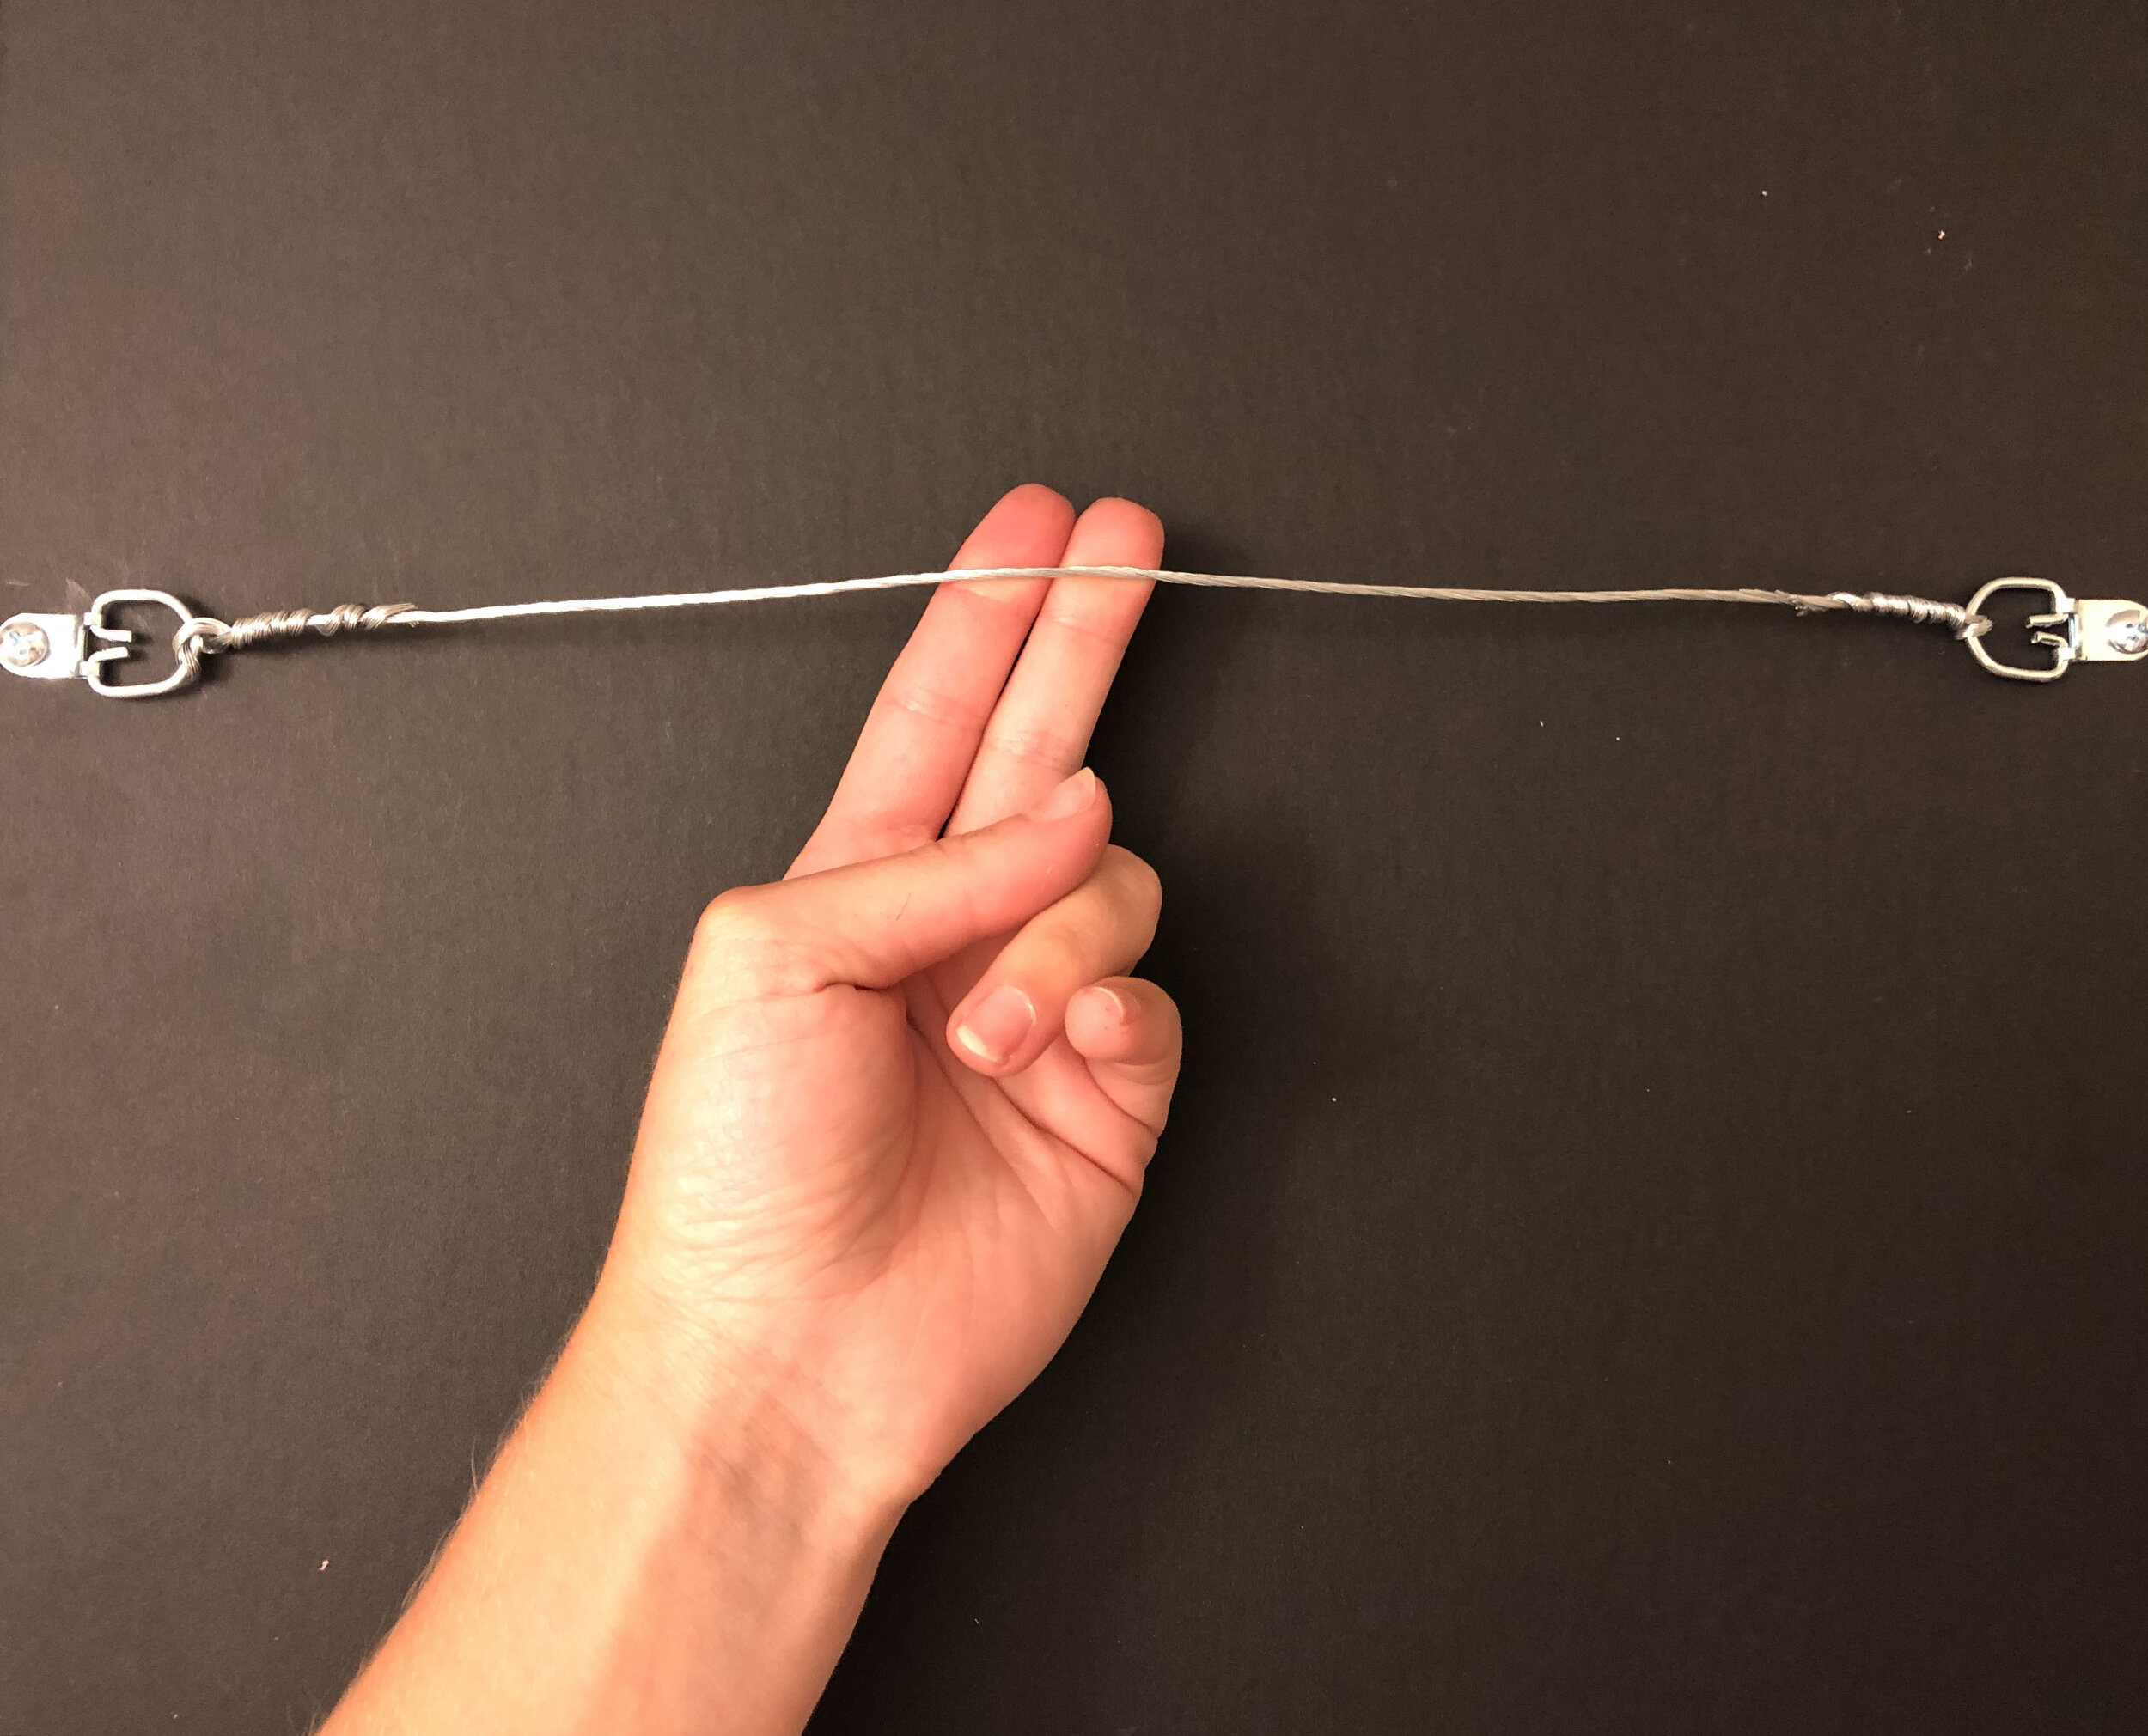
Final Product
Your frame now have one wire connecting your hardware. It can now be easily hung!
